[et_pb_section bb_built=”1″ admin_label=”section”][et_pb_row admin_label=”row”][et_pb_column type=”4_4″][et_pb_text admin_label=”Text” background_layout=”light” text_orientation=”left” use_border_color=”off” border_color=”#ffffff” border_style=”solid”]
We’ve just migrated your site to WordPress and you’re ready to start blogging. Wahoo!
Here’s a step-by-step tutorial how to do just that!
[/et_pb_text][et_pb_video admin_label=”Video” src=”https://youtu.be/18Q1Xn9i7yo” /][et_pb_text admin_label=”Text” background_layout=”light” text_orientation=”center” use_border_color=”off” border_color=”#ffffff” border_style=”solid”]
Not feeling the video today?
No problem. Here’s a quick text outline of what we talk about!
[/et_pb_text][et_pb_text admin_label=”Text” background_layout=”light” text_orientation=”center” use_border_color=”off” border_color=”#ffffff” border_style=”solid”]
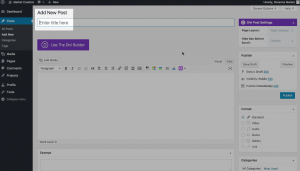
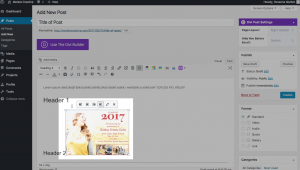
Once logged into your WordPress dashboard, hover over Posts and click “Add New”

Title your post where it says “Enter title here”
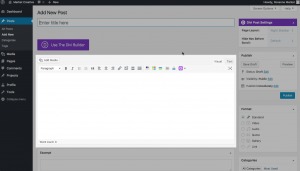
The large box in the center of your screen is a very basic text editor. You can just start typing here!
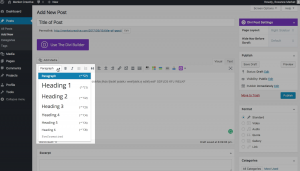
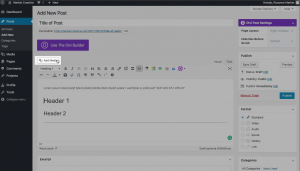
Format your text with headers and paragraph text. (Bonus SEO points if your header includes your focus keyword!)
To add an image, click the button just above the text editor that says “Add media”
That button will pull open a dialogue box where you can upload images from your computer.
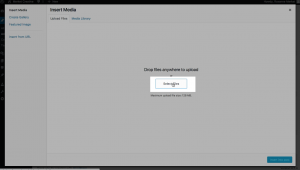
Images will be inserted wherever your cursor is. (You can always move it later!)
Formatting options for the image will pop up when you select the image.
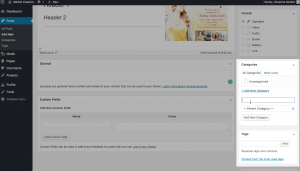
Add 2-3 relevant categories and 7-12 relevant tags to make your blog easier to navigate.
Once you’re all ready to go, hit Publish!
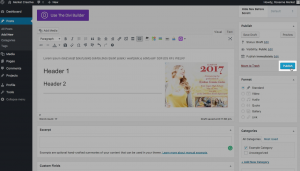
You did it! You published a blog post! Wahoo!!
[/et_pb_text][/et_pb_column][/et_pb_row][/et_pb_section]
